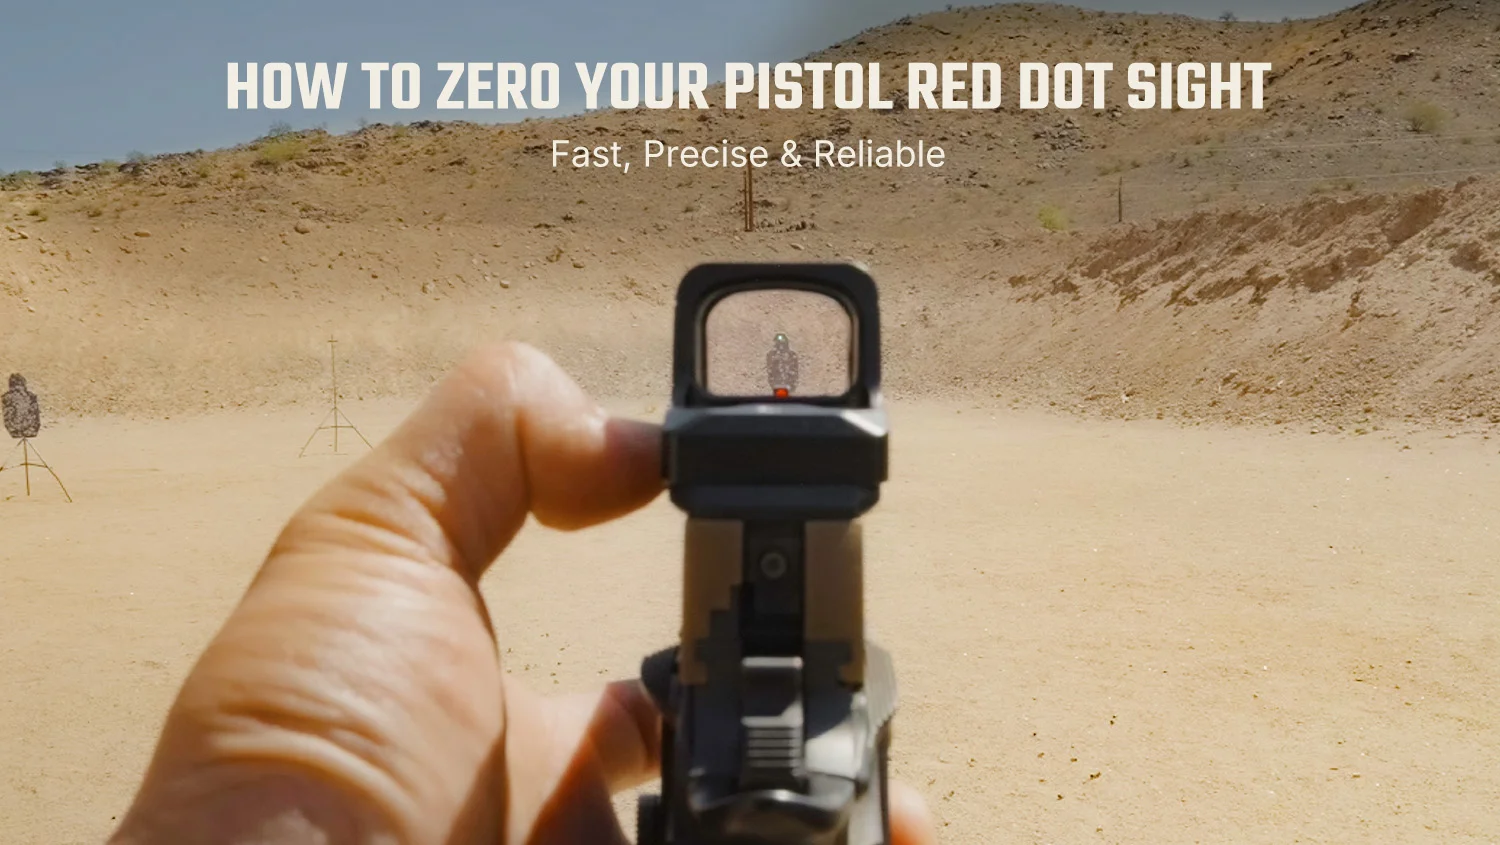

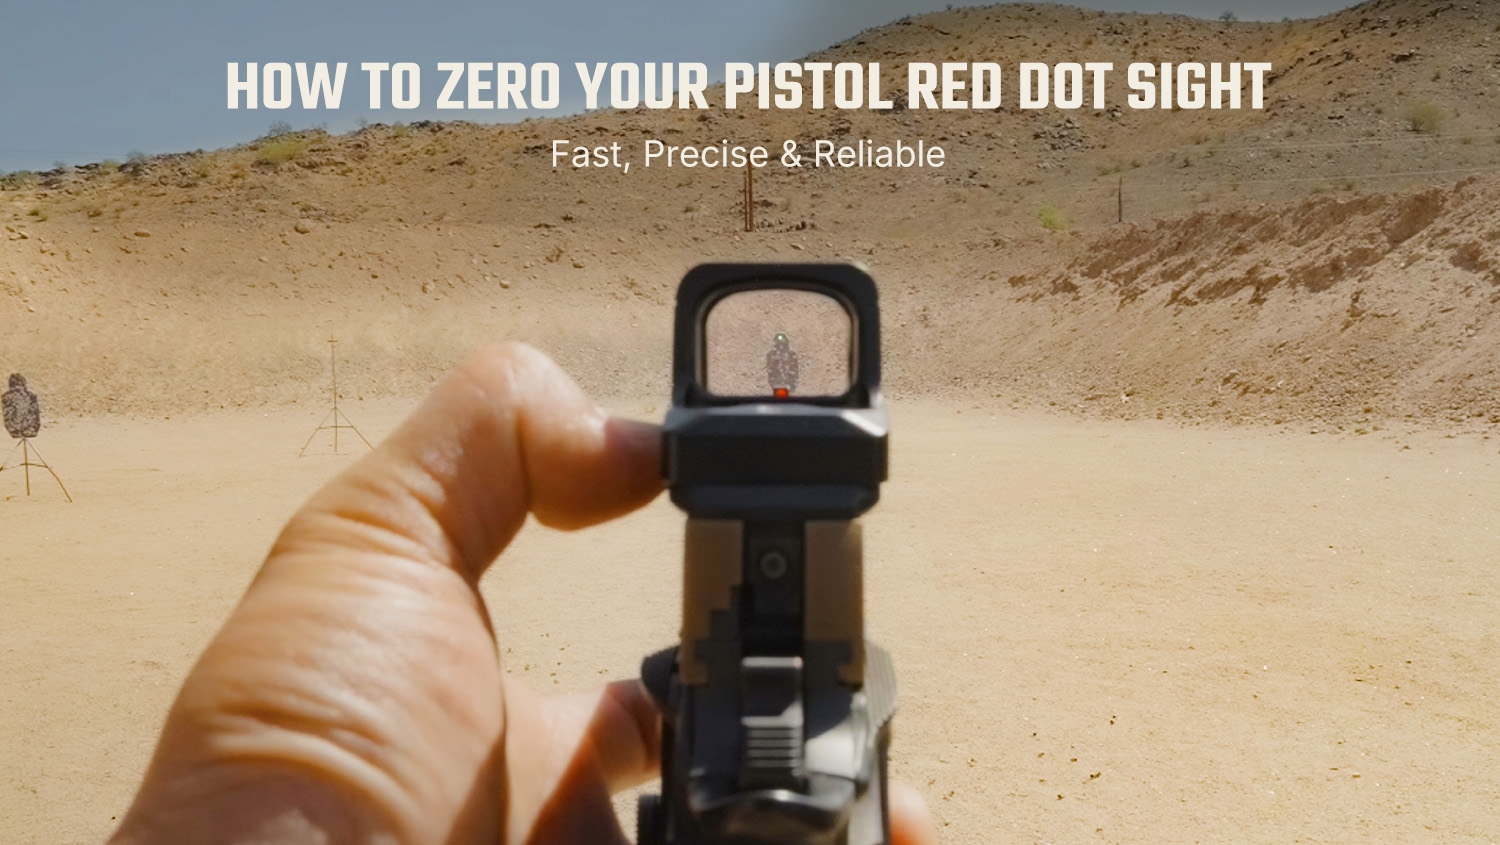
Mounting a shiny new optic on your slide is only half the battle. If you head straight to the range without adjustments, you'll quickly face an awkward truth: where that glowing red reticle points is almost never where your bullet actually hits. That is where zeroing comes into play.In this blog post, we'll break down step-by-step how to zero your pistol red dot so you can hit your target with absolute precision every single time.
What Is Zeroing a Red Dot Pistol
In plain terms, zeroing a pistol red dot is the process of adjusting your optic's elevation (up/down) and windage (left/right) screws so that your point of aim (POA) aligns perfectly with your bullet's point of impact (POI) at a specific, designated distance. Your red dot produces a laser-straight line of sight sitting slightly above the slide, while the bullet travels in an arc influenced by gravity. Zeroing simply brings these two paths together into one precise, predictable intersection.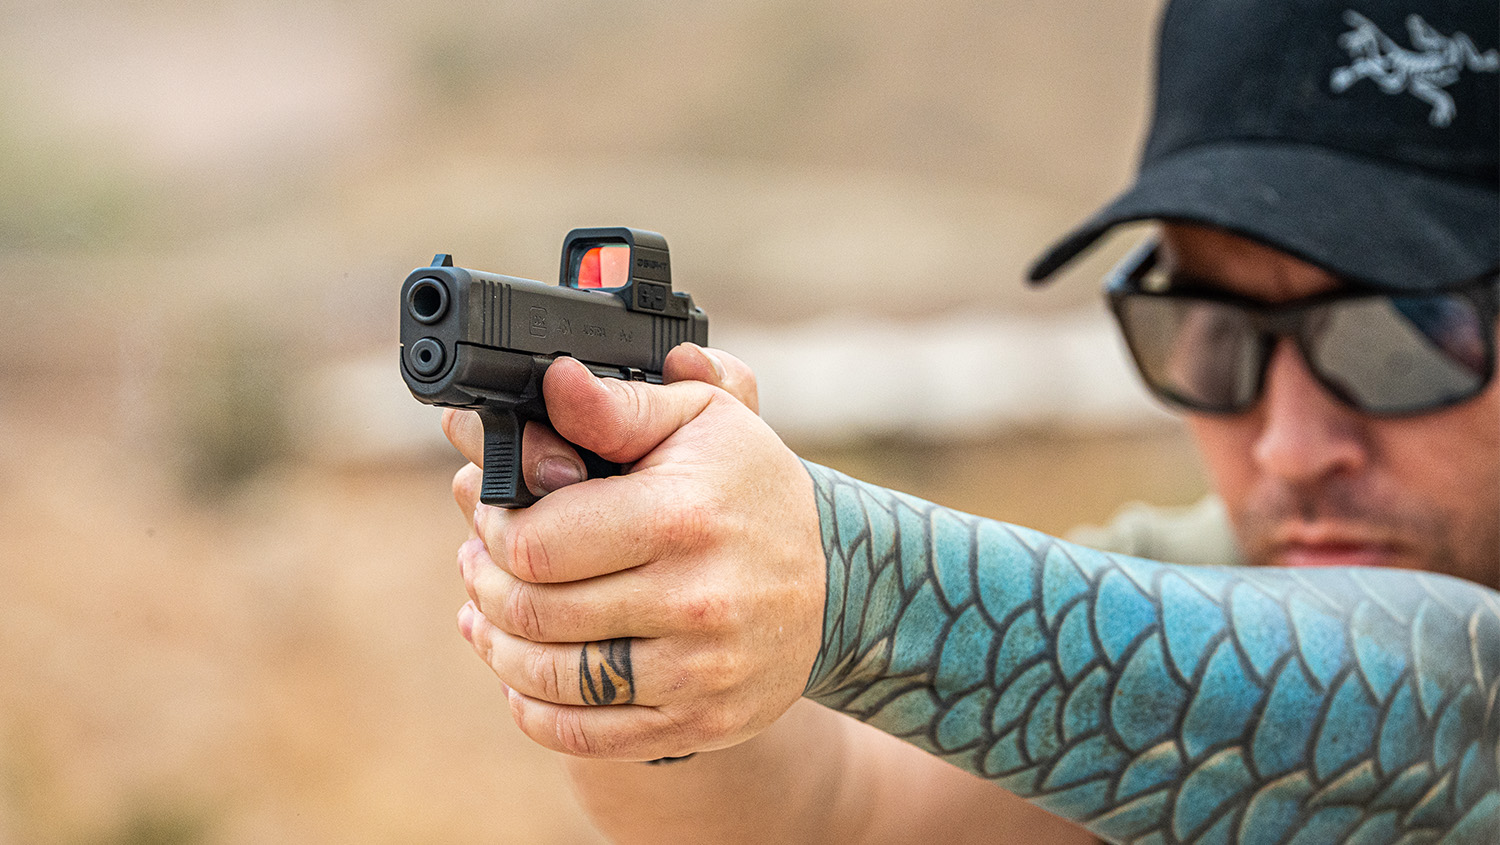
Why You Can't Skip the Zero
It's easy for beginners to assume that a well-built optic mounted out of the box will be accurate right away. In reality, an unzeroed red dot gives you a false sense of precision. Zeroing it in properly is essential for several practical reasons:
● It Builds Shooting Confidence:When you know without a doubt that the dot reflects where the round goes, range time becomes productive. You can focus on grip, sight tracking, and trigger press instead of second-guessing your gear.
● Precision Matters in Critical Moments:In personal defense or duty use, engagements happen in fractions of a second. A deviation of just a few inches can mean the difference between stopping a threat and a tragic miss.
● Zeroing Is Never a "One-and-Done" Deal:Slide-mounted optics endure violent recoil forces with every shot, alongside constant micro-vibrations from daily carry. Over time, this causes subtle optical drift. Shooting a few confirmation groups should be a routine part of your regular pistol maintenance—just like cleaning your barrel and checking your witness marks.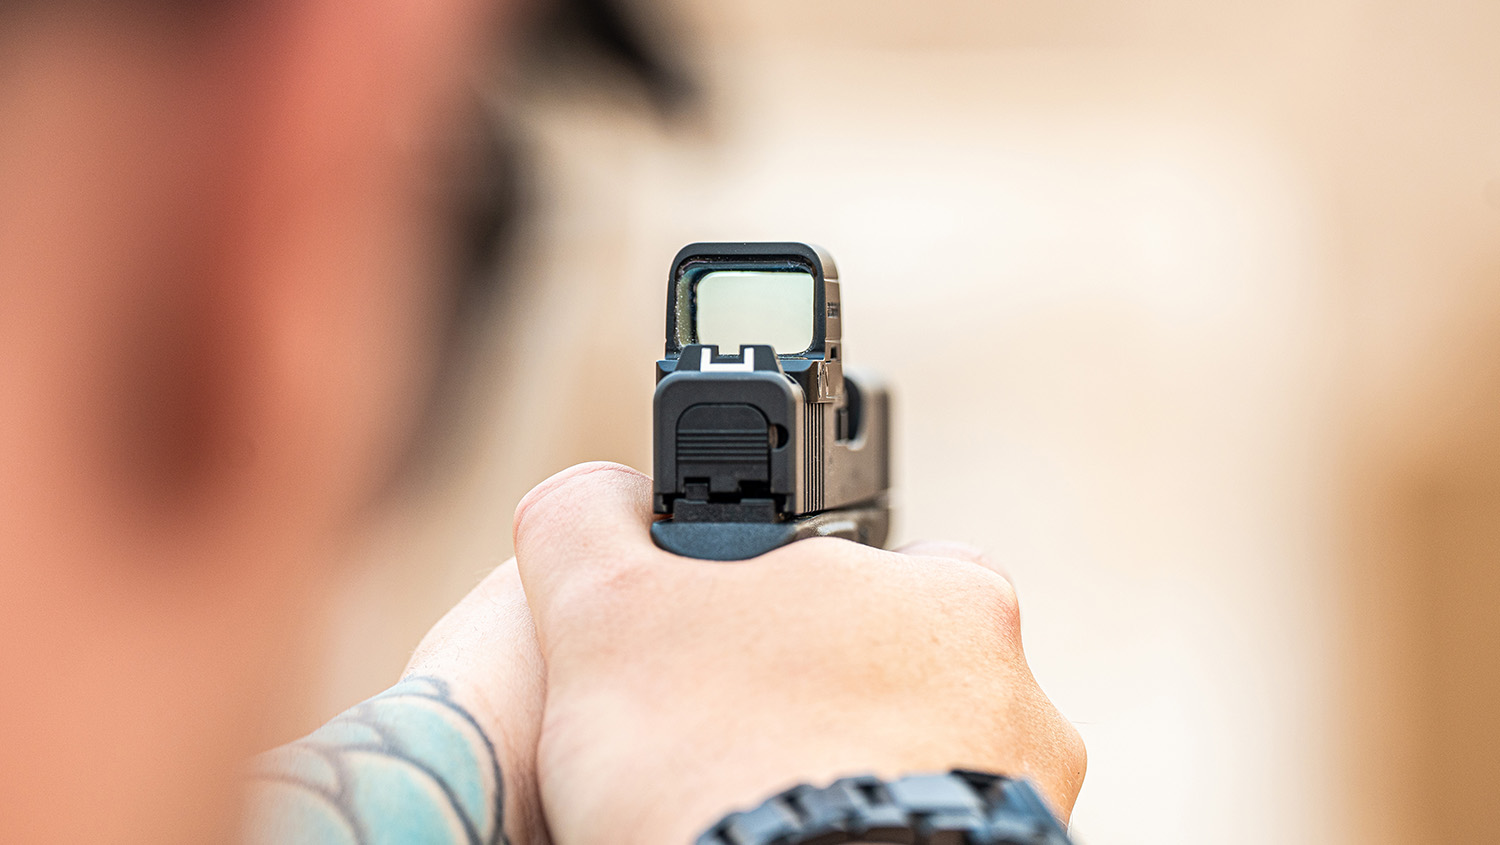
Comparing Zero Distances: 10 – 15 – 25Yards
There is no single fixed number for handgun zeros. The best distance depends on your training style, range facilities, and experience level:
● The 10-Yard Zero
Fast, straightforward, and ideal for beginners or tight indoor lanes. Inside 15 yards, point-of-aim and point-of-impact differences are negligible. Beyond 15 yards, however, rounds will begin climbing noticeably above your reticle.
●The 15-Yard Zero
The gold-standard compromise for general-purpose handguns. From arm's reach out past 25 yards, it delivers a flat, forgiving trajectory with minimal vertical shift. It is the sweet spot for everyday carry (EDC), home defense, and practical shooting.
●The 25-Yard Zero
For shooters who regularly practice at extended ranges, compete in shooting matches, or demand a true precision reference, the 25-yard zero is widely considered the gold standard. It produces the flattest overall trajectory, making it the benchmark choice for duty weapons, competitive matches, and advanced tactical courses. That said, the skill barrier is high: it requires rock-solid hand stability and disciplined shooting fundamentals, meaning newer shooters often struggle to hold tight enough groups at that distance to lock in a dependable zero.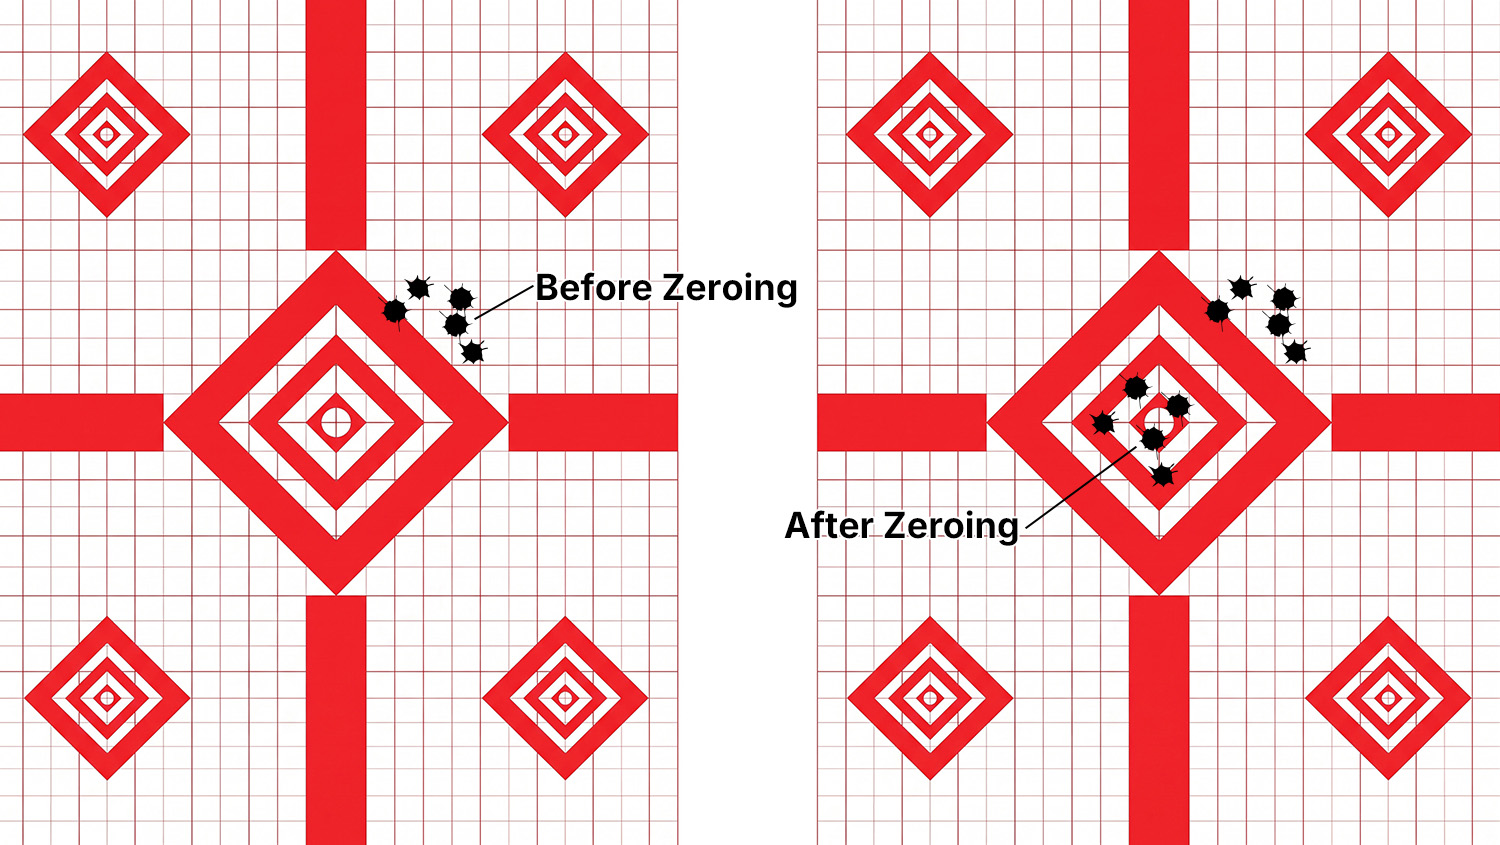
How to Zero a Red Dot Sight in 3 Simple Steps
●Step 1: Stabilize and Shoot Your Baseline Group
Set your target at your chosen zero distance (such as 15 or 25 yards). Align the red dot on your target's point of aim (POA), maintain a steady trigger press, and fire a tight 3- to 5-round baseline group using the same ammunition you intend to carry.
●Step 2: Measure Deviation and Adjust Turrets
Find the geometric center of your shot group (point of impact, or POI) and measure the distance between that center and where you were aiming (in inches). To determine the exact click adjustments, use the standard MOA formula:
Distance between point of impact and point of aim (inches) / [Distance in yards / 100]
For example,you choose to zero your red dot at 25 yards. After your first shot, the bullet impacts 0.25 inches below your point of aim. To make an elevation adjustment, locate the Elevation Turret and rotate it 1 click counter-clockwise, following the direction of the "UP" arrow. Note: Check your optic's manual or turret markings first to confirm its click value.
●Step 3: Confirm and Apply Witness Marks
Aim back at the bullseye and fire another 3- to 5-round group to confirm your adjustments. If your rounds punch dead-center where the dot sits, congratulations—your optic is officially zeroed! Before packing up, take an oil-based paint pen and draw a witness mark across each mounting screw and the optic housing. This allows for an instant visual inspection on future range trips to ensure the screws haven't backed out under recoil.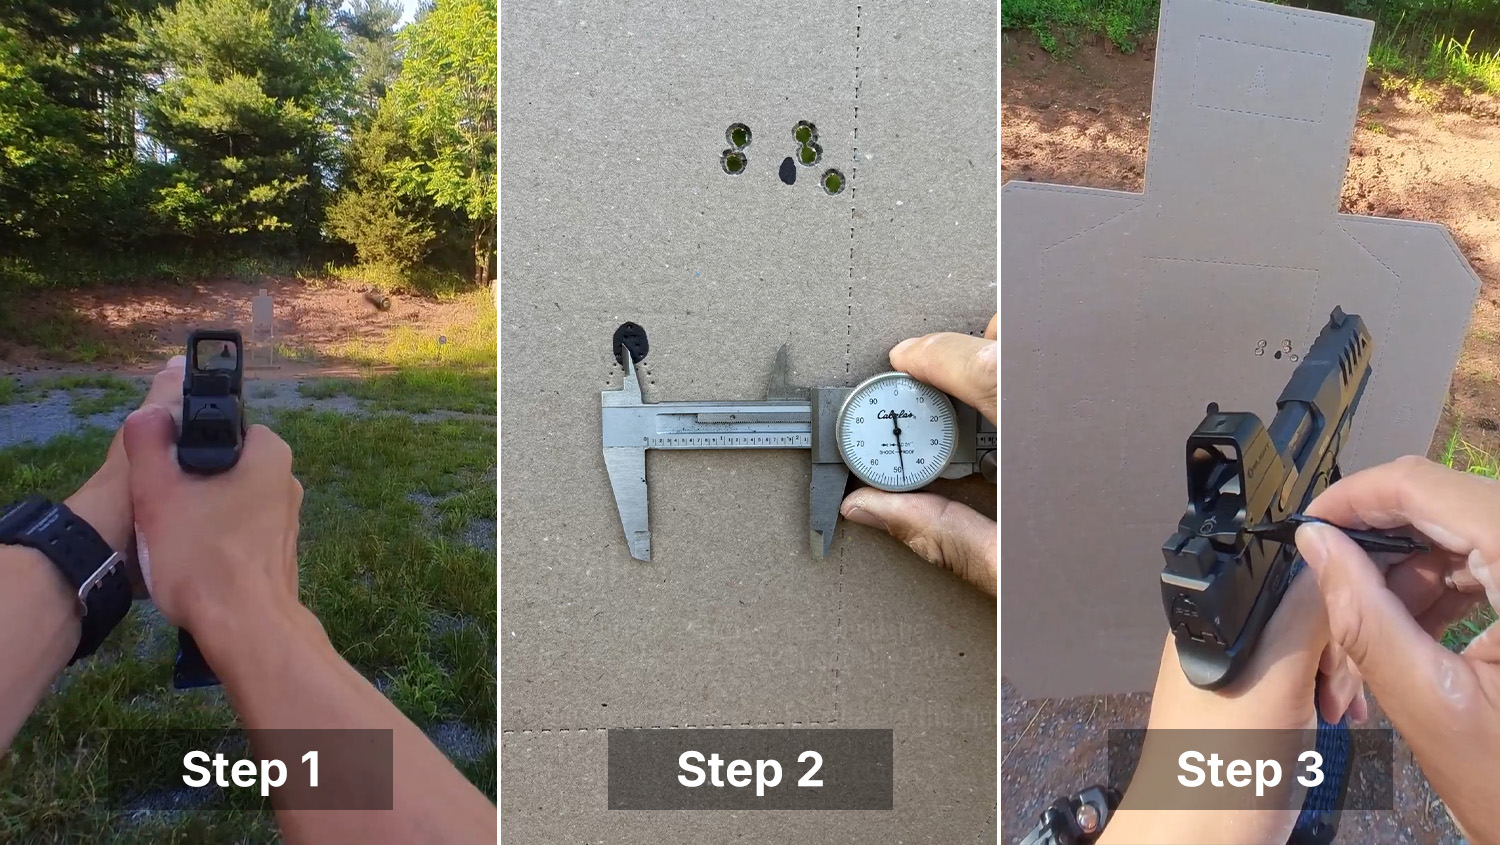
Looking for a New Red Dot Sight
Mastering the zeroing process is only half the equation—running an optic that holds its zero through thousands of rounds of heavy recoil is what gives you true peace of mind.
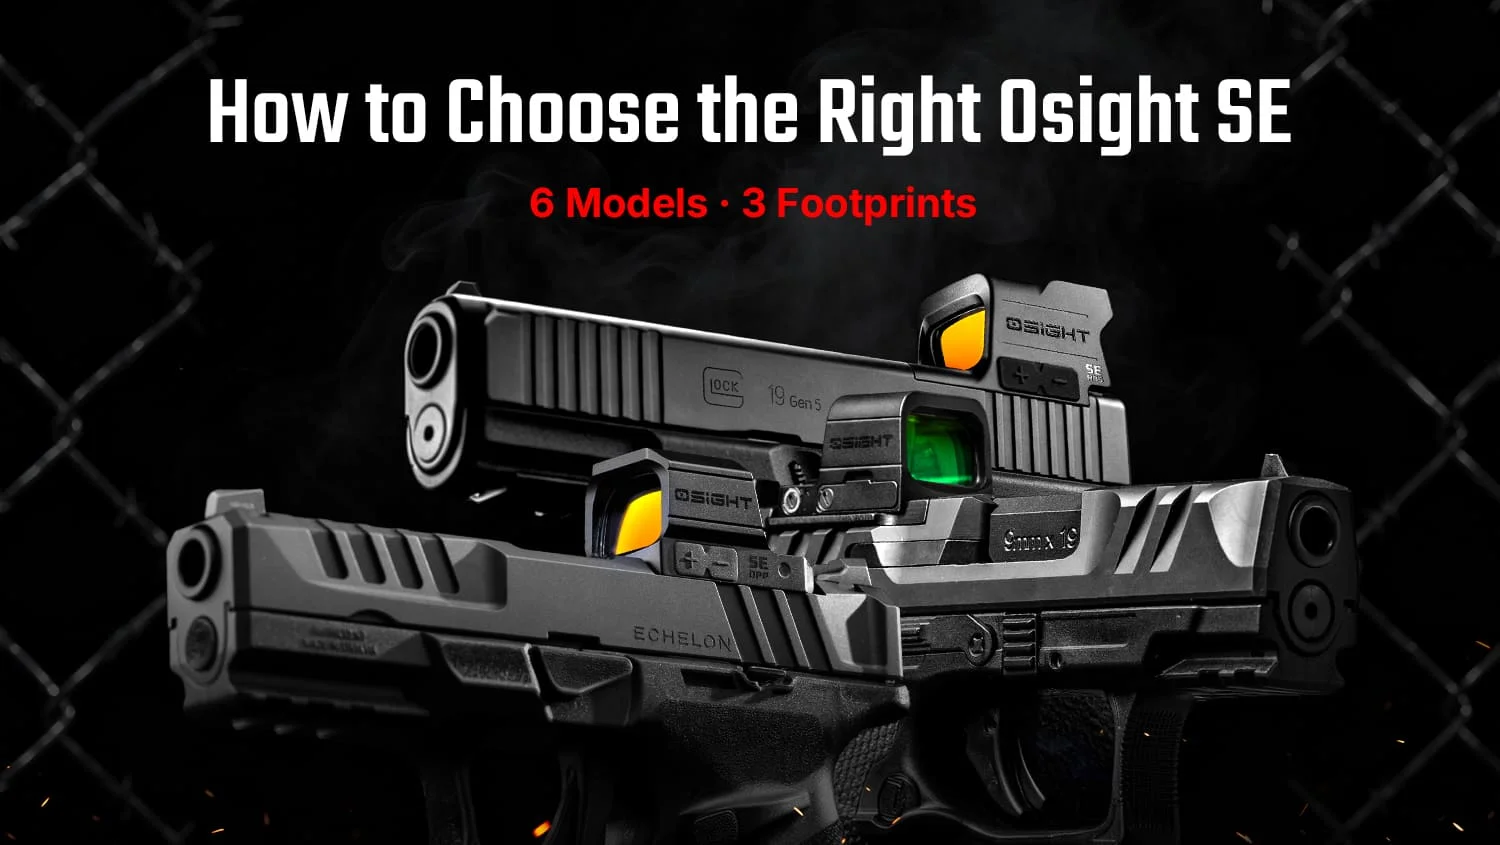
Whether you're upgrading your everyday carry setup, looking for a wide-window sight for practical competition, or mounting your very first handgun red dot, Osight optics are engineered to deliver rugged durability, razor-sharp reticles, and repeatable click-adjustments that make dialing in effortless. Built to withstand punishing slide forces and daily wear, Osight delivers the dependable accuracy you can trust with every trigger press.
👉 Ready to level up your shooting accuracy? Explore our full lineup of premium pistol optics and accessories today at the Osight Official Store .